How to create a photo book full of 2010s nostalgia
As the 2010s wind down, many of us reflect on the past ten years of new experiences, personal milestones, and lasting memories. Wrapping your head around the whole decade is never an easy task, but with all the photos you have saved on your devices and a little help from Empik Foto it can actually be fun! Why not recap your best memories from the 2010s with a photo book? Here’s how to do just that, using our photo book creator.
How to get started?
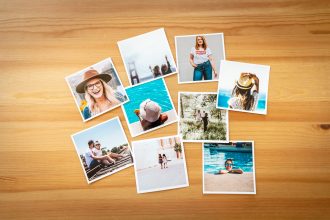
While it may seem daunting to go through 10 years’ worth of photos, if approached in the right way, it can be a truly enjoyable trip down memory lane. So, how to go about it? First of all, focus on choosing the keepers. You probably have thousands upon thousands of images sitting in your digital archives, but think carefully how many of them can pass muster as your private icons of the past decade. Secondly, do not fall into the familiar trap of oversentimentality. Reject as many pictures as you have to – doubles, triples, blurry selfies, pictures of random landmarks from forgotten vacations. Thirdly, think of the way you want to arrange your pics in your photo book. Are they going to be sequenced chronologically, thematically or in some other order? The most straightforward method of organizing your photos is putting them in a chronological order, but if you decide it’s more trouble than it’s worth, choose the photos based on themes and experiences that matter to you instead. For example, think of photos that tell a story. Even if these aren’t high-quality, compelling shots, they have value if there’s a memory attached to them!
Let’s make it!
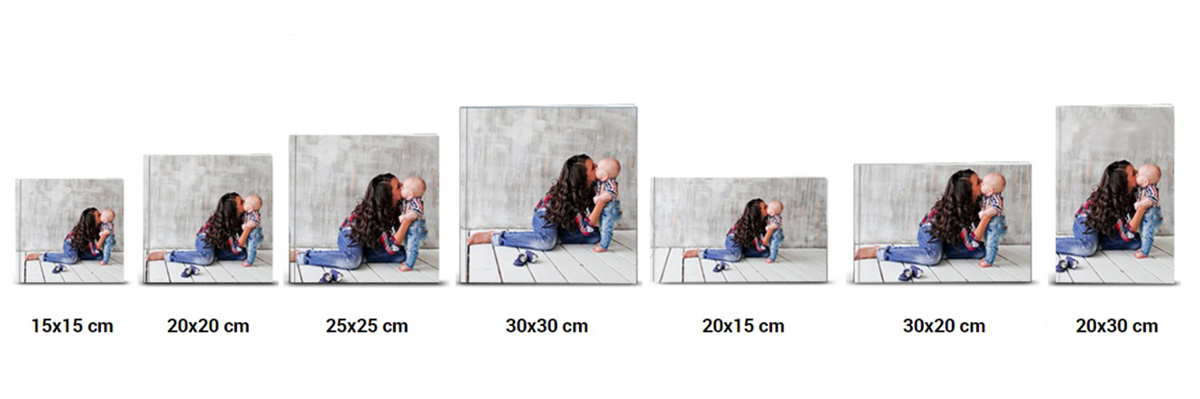
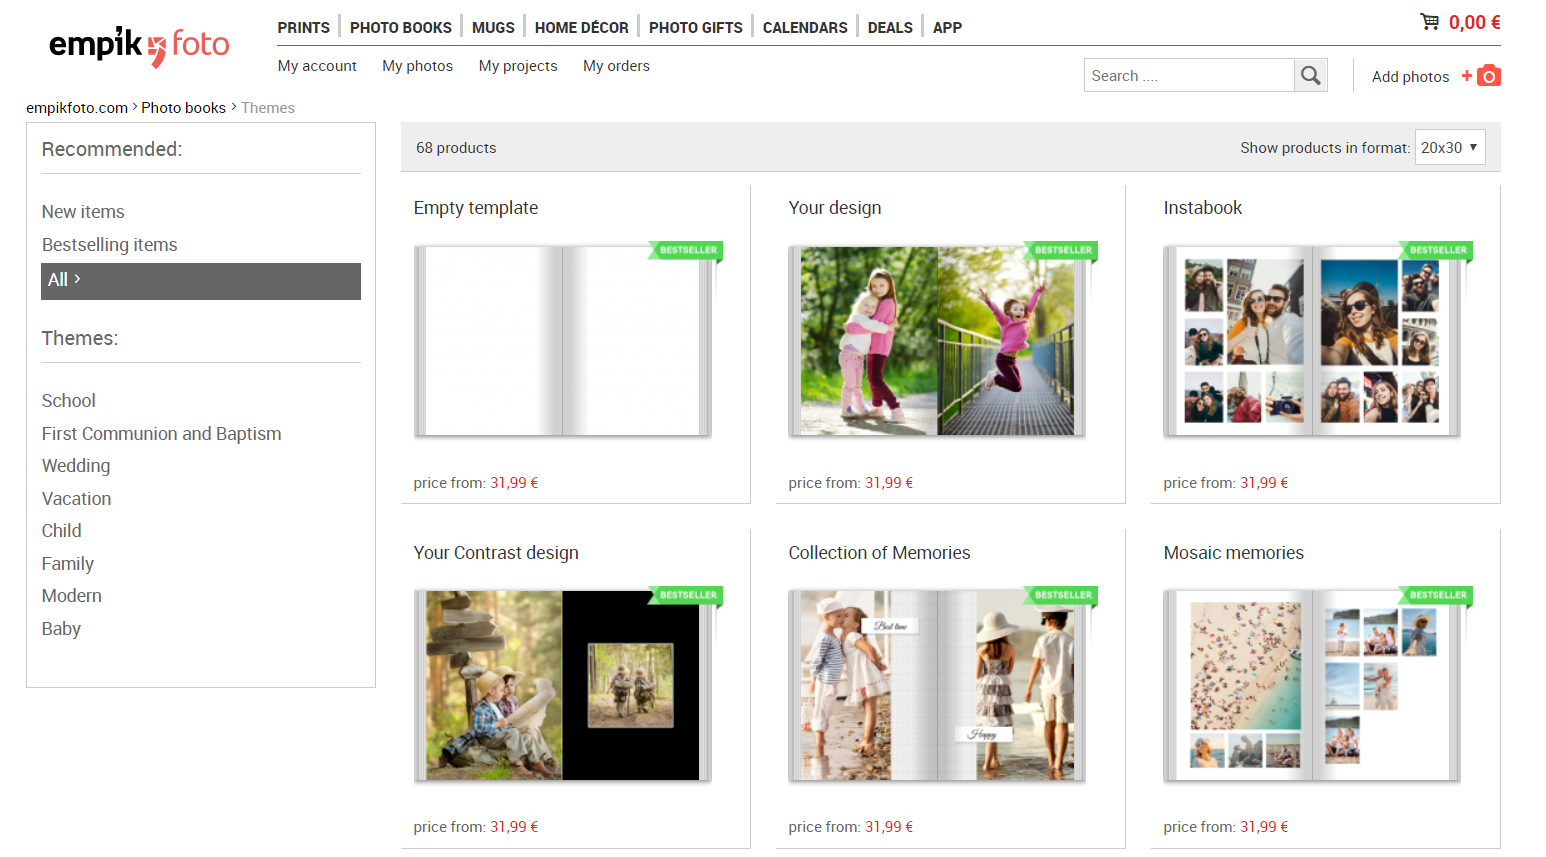
For starters, select “Photo Books” from the home page. Then choose the size and orientation of your desired photo book.
Next, pick the design, paper type and cover type.
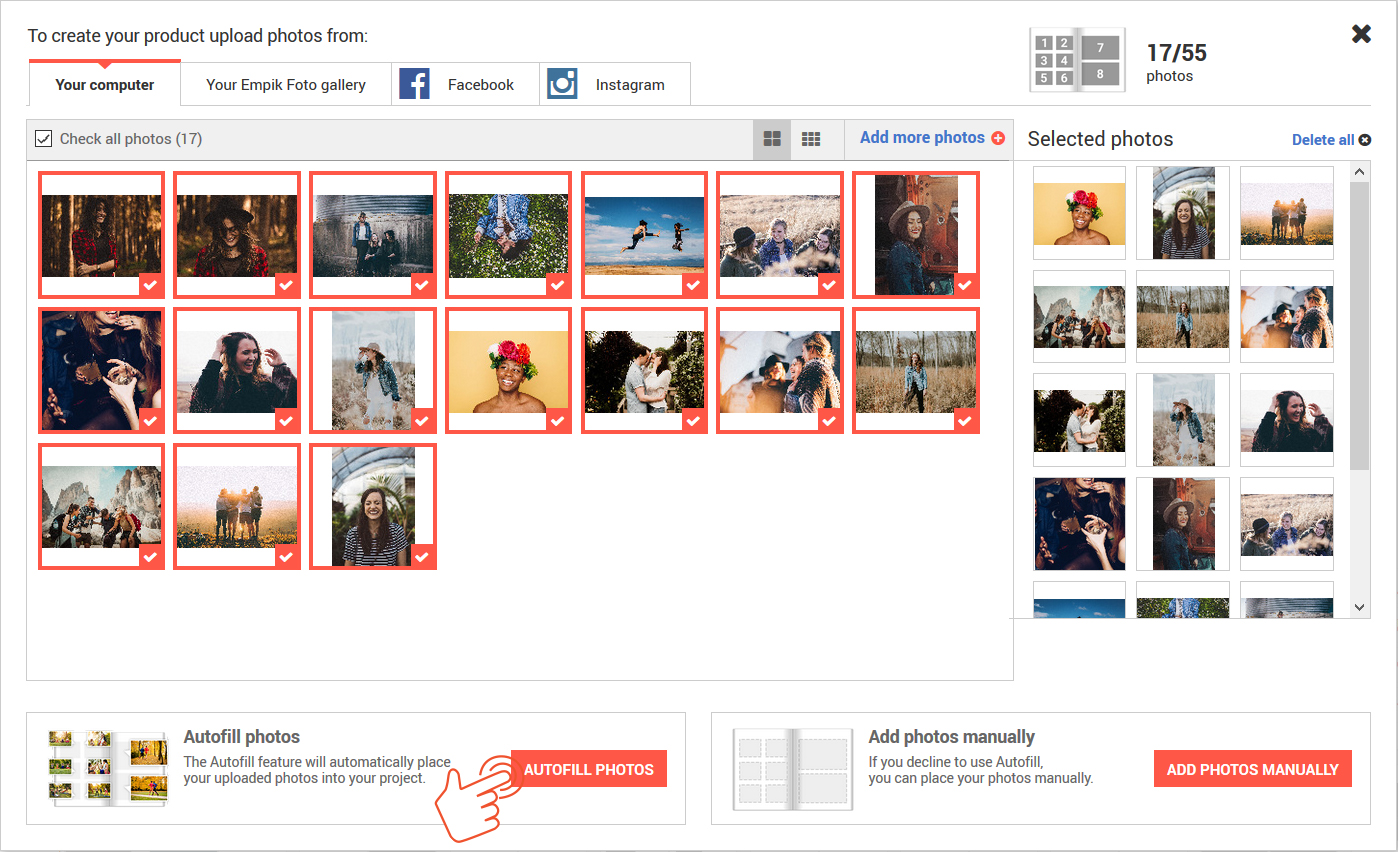
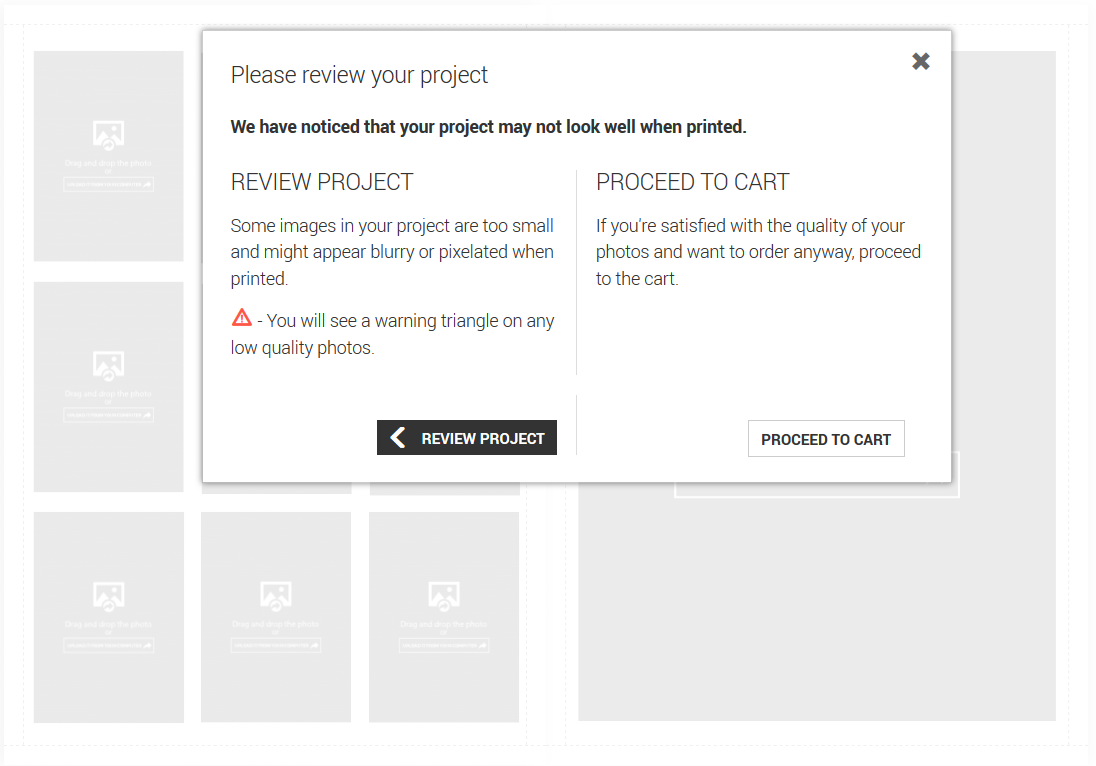
Select the pictures you’d like to have in your photo book. You can upload your photos from a number of locations, including Facebook, Instagram, or straight from your computer. Keep in mind that only hi-res photos will guarantee the right quality of your photo book. If you’re not sure whether the resolution of a given photo is high enough for a nice result, don’t worry, you will see a warning sign (an exclamation mark inside a triangle) on any low-quality photos. iPhone photos and other large JPG files are usually in the clear.
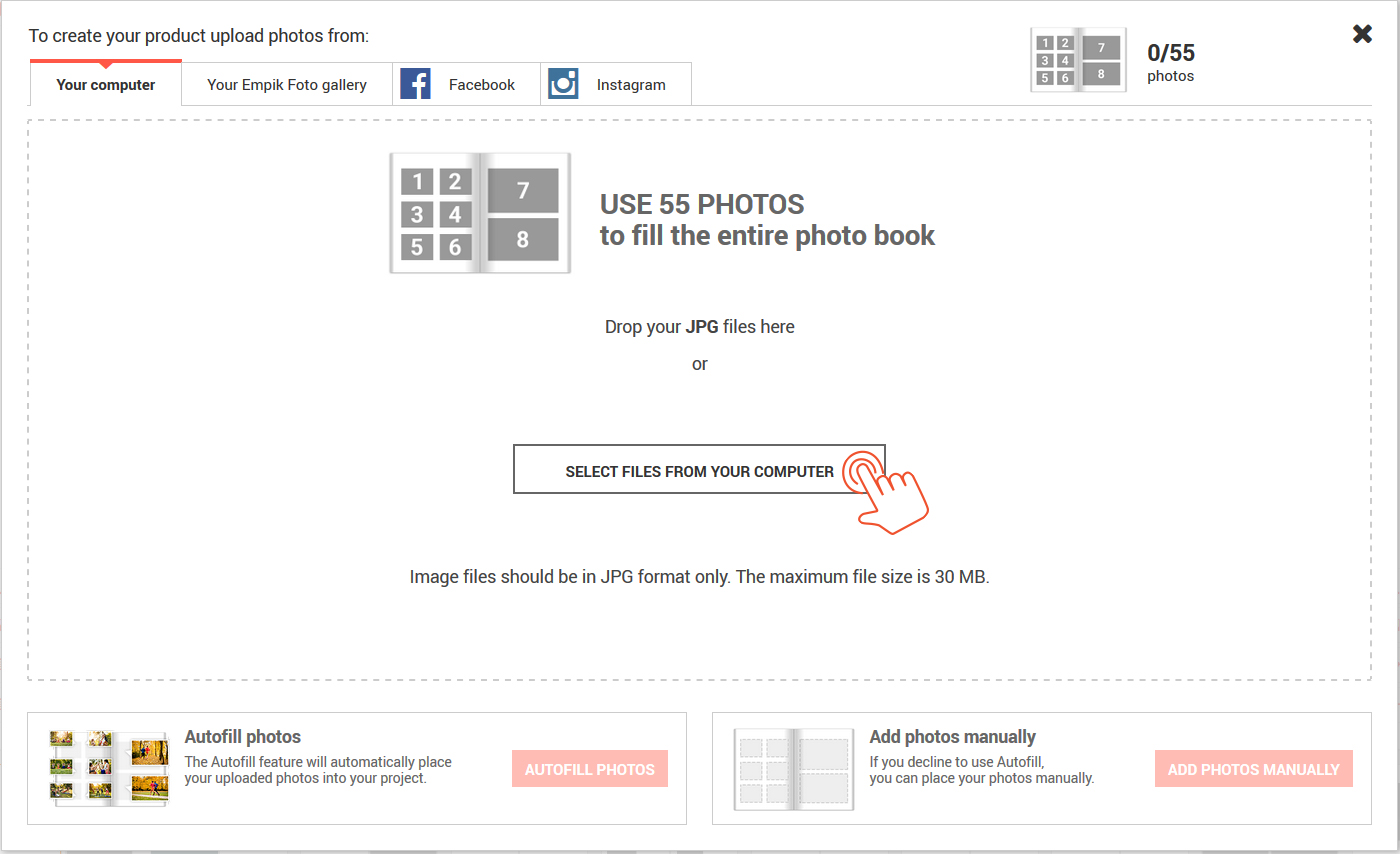
At this point, you can decide if you want to autofill. Autofill is a smart feature that automatically and quickly lays out your photos in the book, doing most of the work for you. It’s a great time-saver and a full proof shortcut to a beautiful book. Naturally, you can also ignore the Autofill option and place your photos manually one by one.
Your project, your way
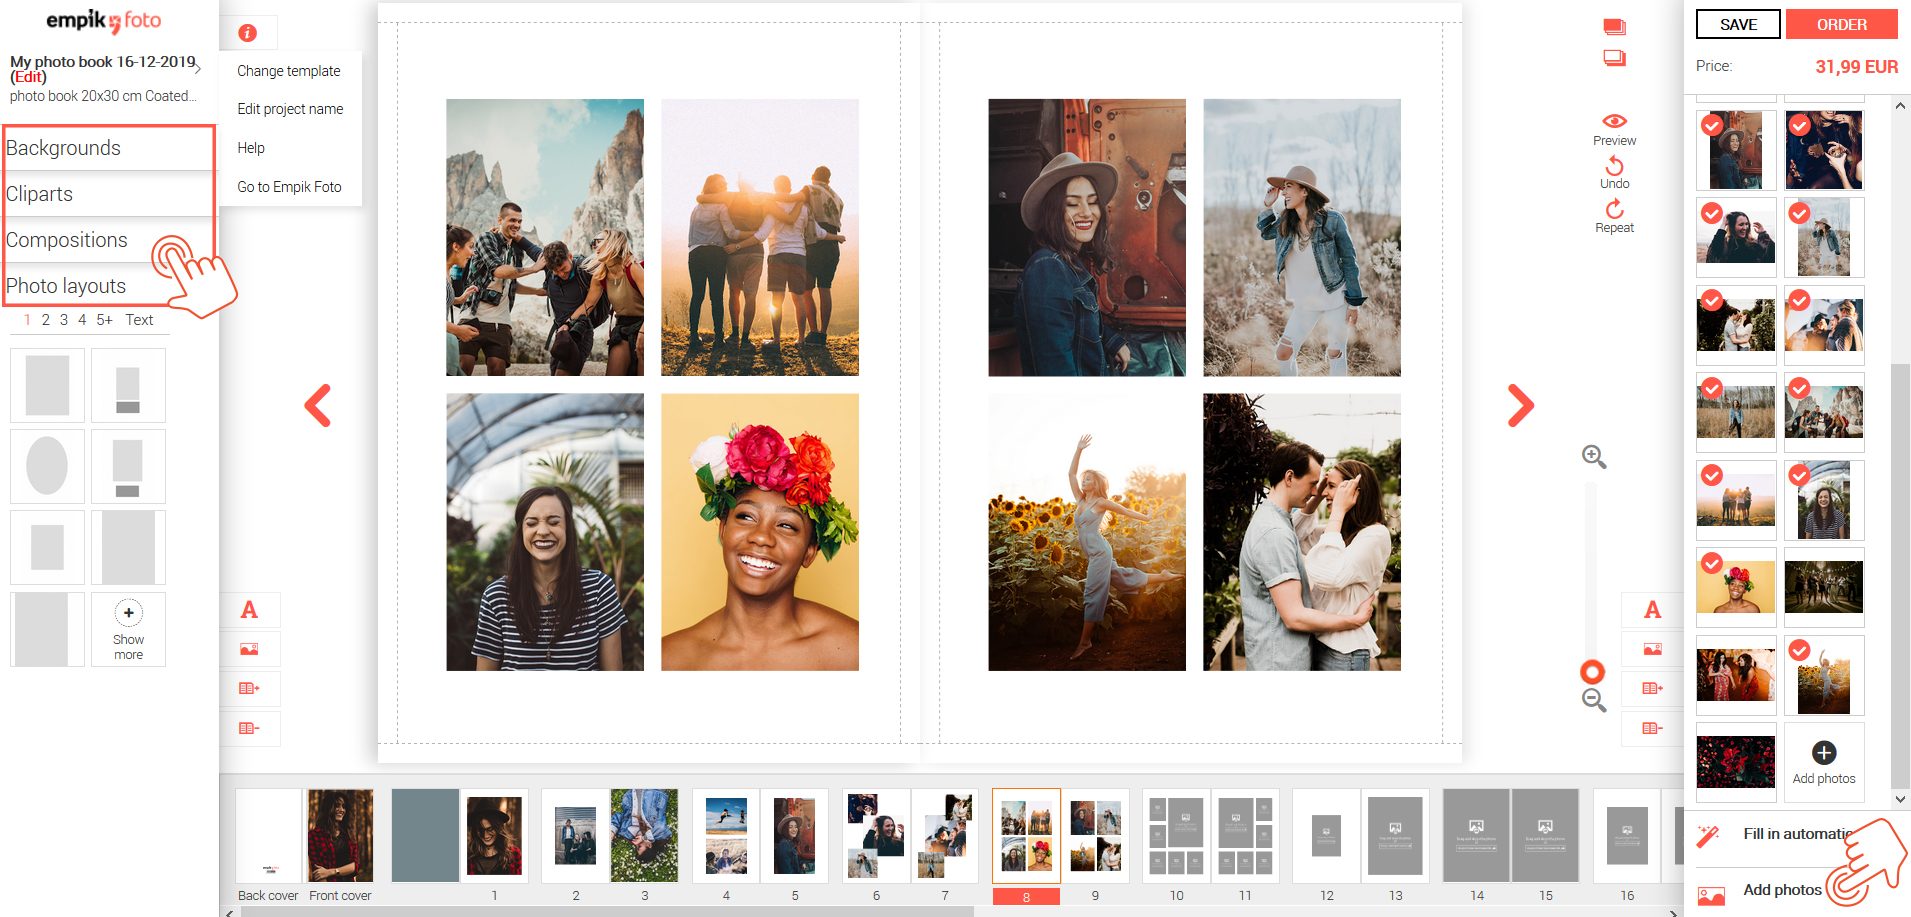
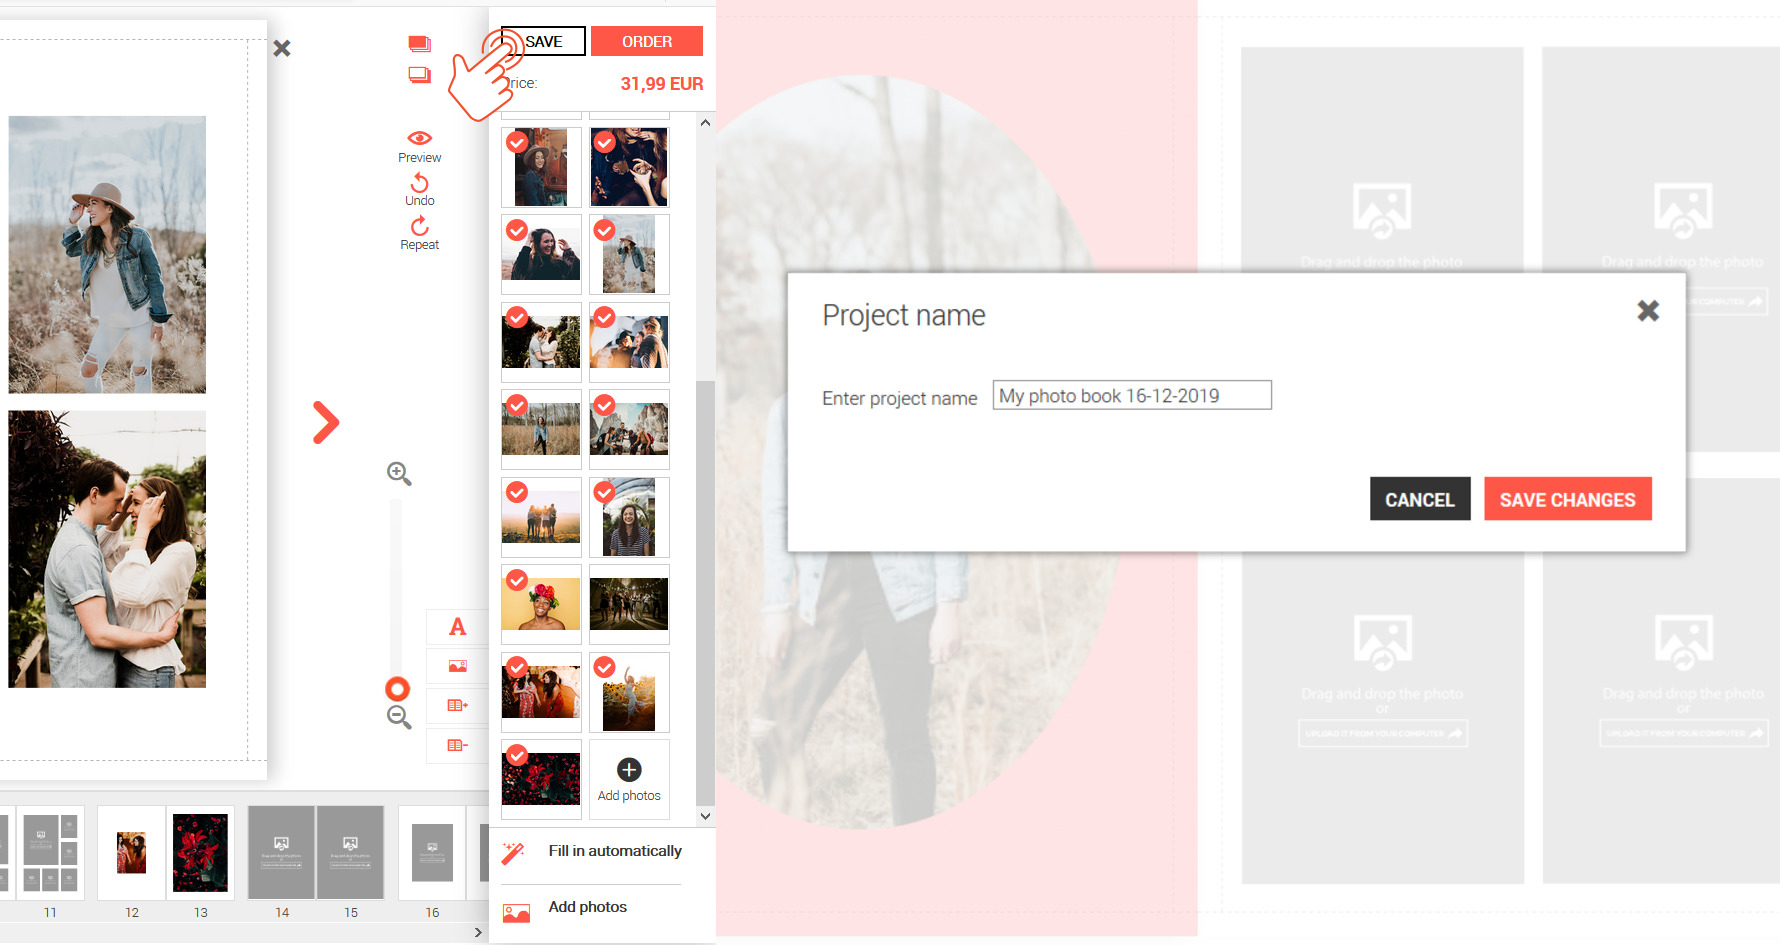
You’re now in the photo book creator. If you have chosen not to autofill, you can now fill the placeholders with your photos one by one, grabbing each photo from the right-hand part of the screen and dropping it where you see fit. To change the position of a picture, click-and-drag it and drop it on top of another. The pictures will automatically switch. You can further personalize your book by choosing from various backgrounds, cliparts and photo layouts. You can also add pictures to your photo book by clicking on “Add photos” in the lower right-hand corner of the screen.
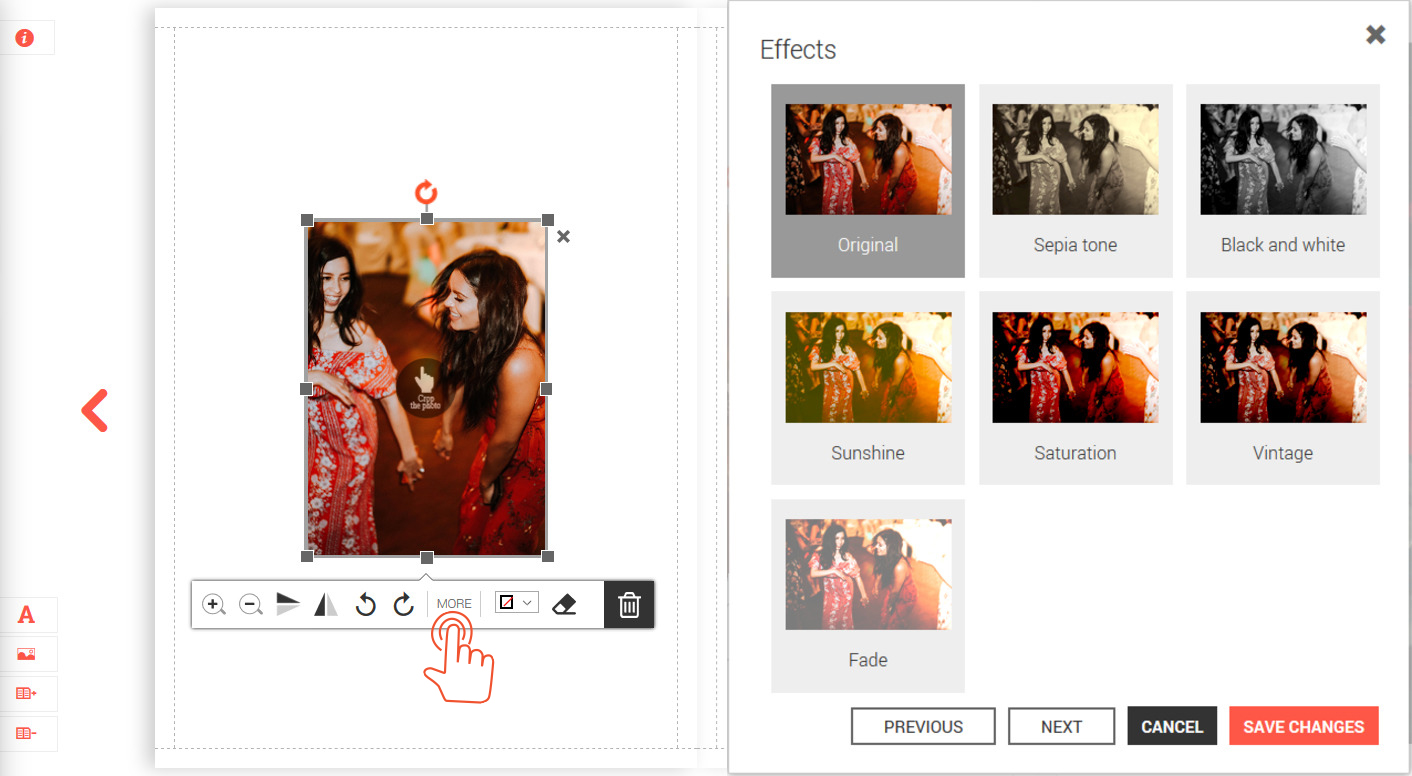
A simple way to improve the way your pictures look in your book is to crop or rotate them for maximum effect. Click on any picture to crop it or rotate it. When you’re done, click anywhere to deselect the photo.
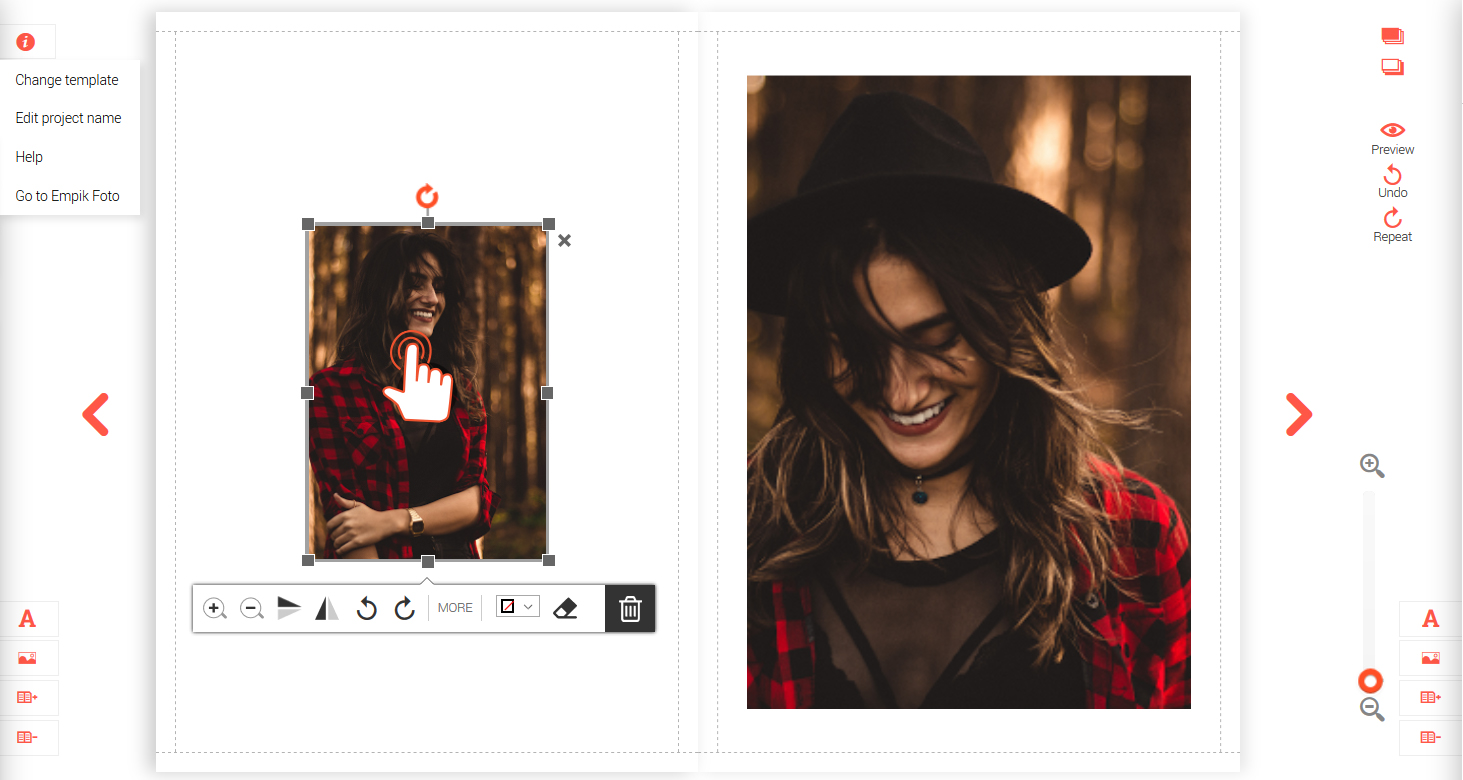
To apply different photo filters, select “‘More” from the tool bar under the photo. You can add a photo filter just by clicking on it, so feel free to experiment with different looks until you find the perfect effect.
When you’re done making changes to your photo book, click the “Save” button in the upper right-hand corner of the screen. If you haven’t signed in or registered yet, you will be at this point prompted to do so.
When you have finished creating your book and clicked “Order”, you will be asked to review your project. You can now proceed to cart.
From mundane routines to holidays and special events, revisiting some of the most memorable moments you caught on camera is an awesome way to head into the new year (and new decade, too!). What were your biggest moments from the last ten years? Let us know in the comments!
CREATE A PHOTO BOOK ON THE GO WITH OUR PHOTO BOOK APP
![]()
![]()