How to Photograph Lightning at Night – 5 Useful Tips
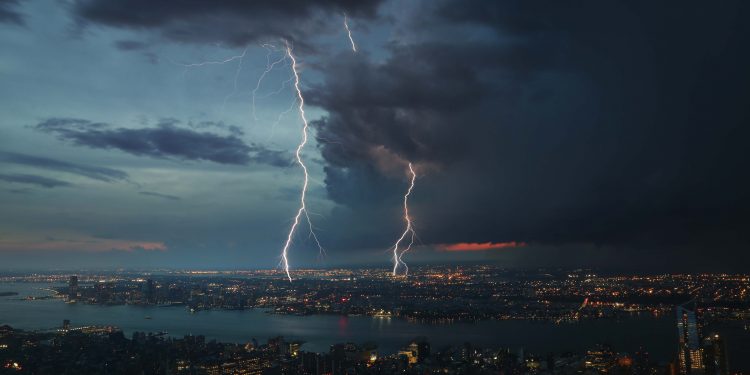
Capturing that elusive lightning bolt can be as daunting as it is rewarding. You never know where it will strike and when it does, it will most likely vanish before you can even take aim. But there are a few ways to increase your chances of snapping a perfect thunderstorm image. Read on to learn how to photograph lightning like a pro with some easy tips and tricks.
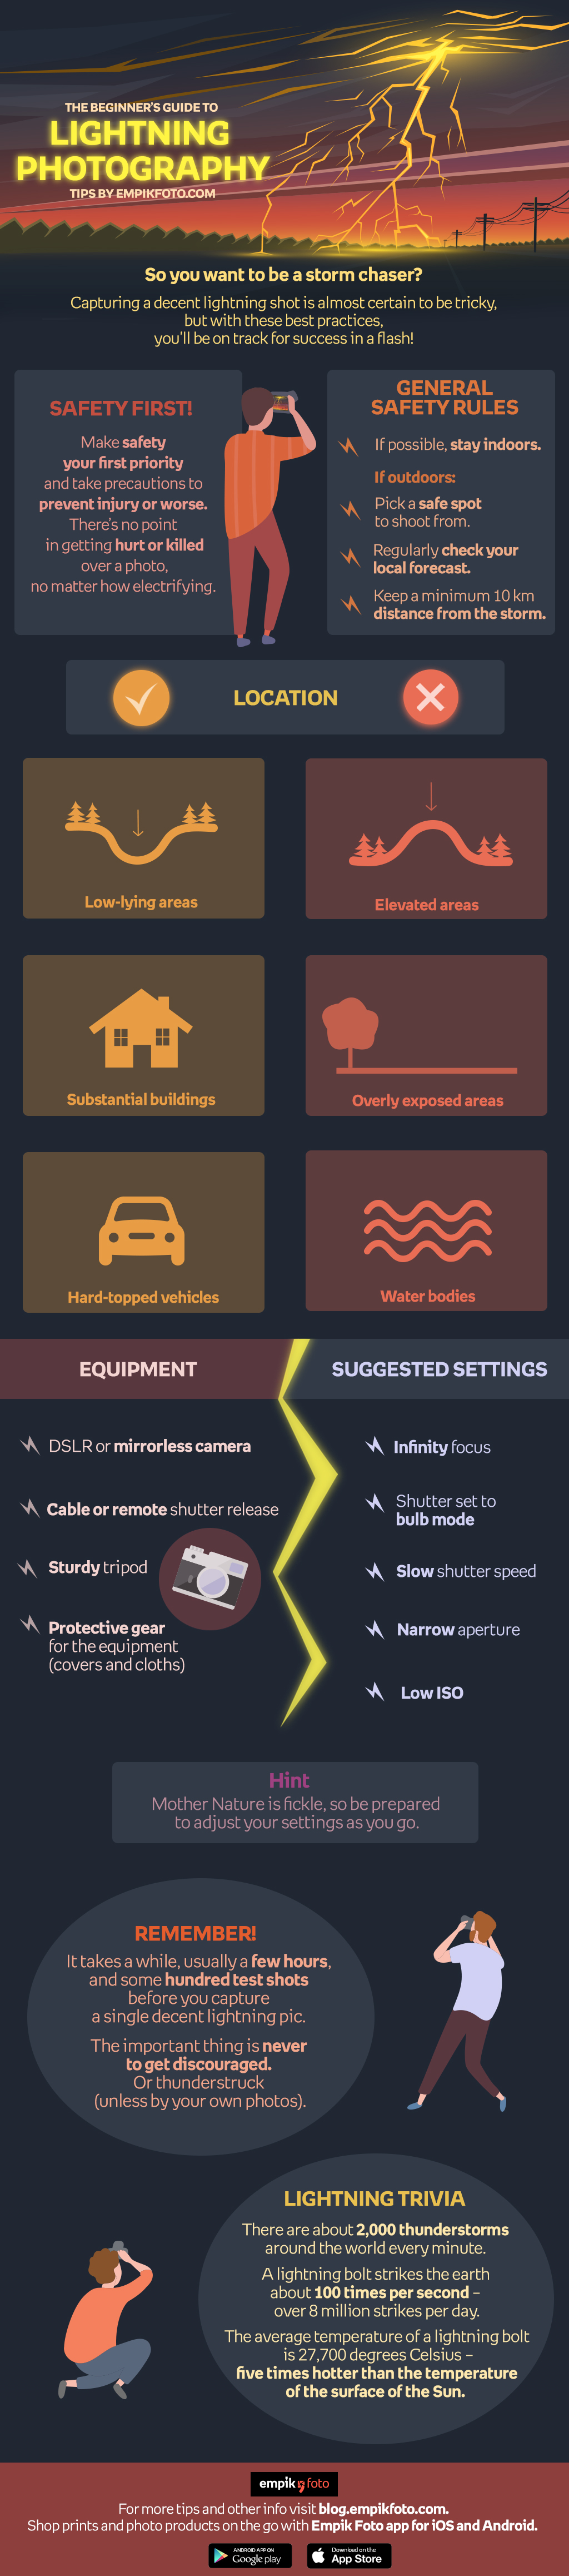
1. Safety first!

Make safety your first priority. Always keep close to a building or a hard-topped car where you can take shelter when the situation becomes dangerous. There’s no point in getting seriously injured or killed over a photo, no matter how electrifying! Remember, if your hair stands on end or your skin tingles, a lightning strike is imminent. If possible, get indoors immediately. If there’s nowhere to hide, crouch down on the balls of your feet with your heels close together, making yourself the smallest target possible and minimizing contact with the ground.
2. Consult a reliable weather forecast
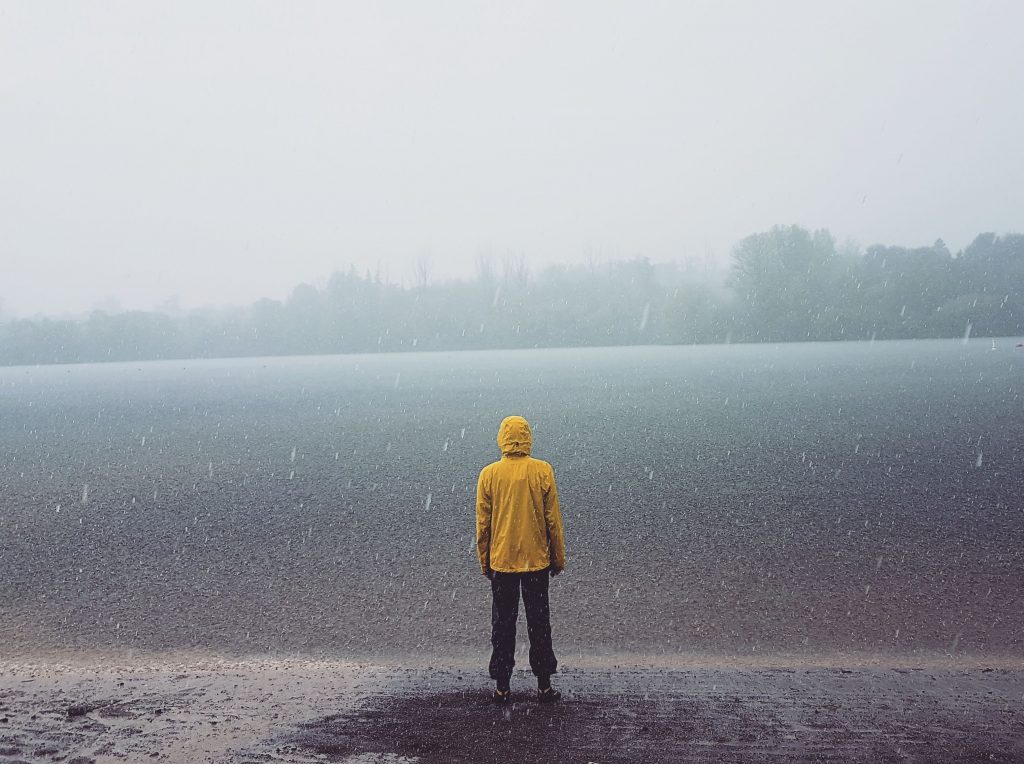
Know what’s coming before you venture out – the last thing you want is plodding through the core of a storm with all the rain and wind driving into your face! Staying one step ahead of your weather is absolutely essential if you want to take that perfect lightning photo – the best time to capture a bolt is just before the storm rolls in. While Mother Nature is fickle, you can still improve your odds by keeping an eye on your local forecast via smartphone or tablet.
3. Choose your location carefully
Think about a place or vantage point that might make for interesting photographs, but again, consider safety. Open or elevated areas like beaches, fields or hilltops are probably the best locations for storm photography, but they also happen to be danger zones where the lightning risk is the greatest. Also, stay away from water, including pools and lakes, and isolated tall objects, like trees or utility poles – anything that sticks up attracts lighting. Last but not least, always maintain a minimum 10 km distance from the storm. As a general rule of thumb, if you are getting rained on, you’re too close and should move further away from the storm.
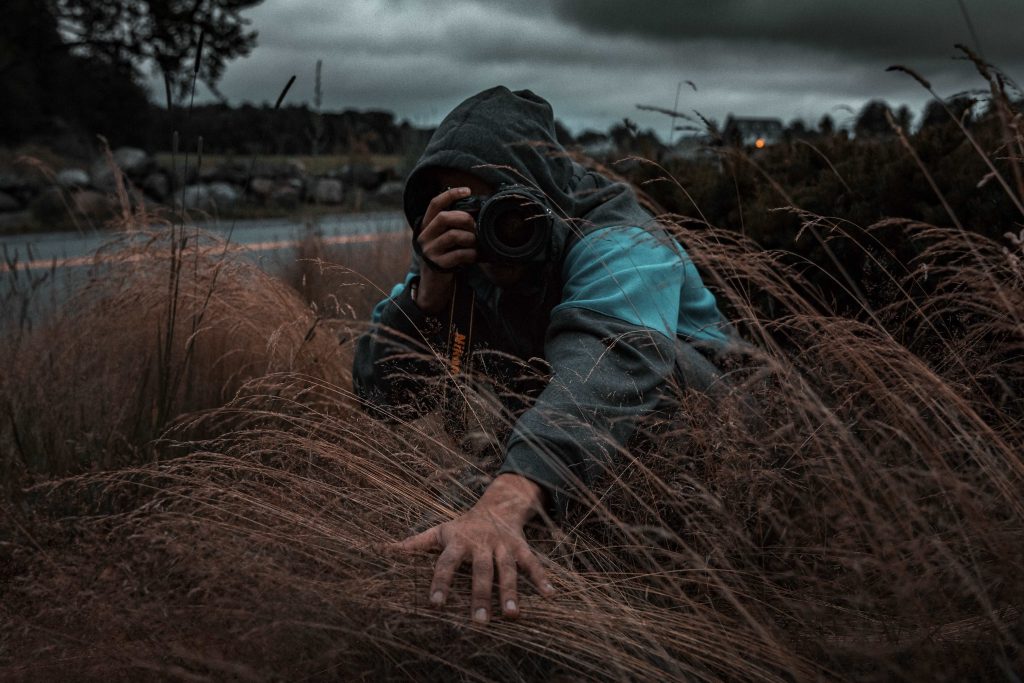
4. Get your setup right

While there is no cut-and-dried recipe for nailing a night-time lightning shot, there are some good guidelines to get you started. When settled on a location, make sure your camera – a basic DSLR or any camera that lets you control the length of the exposure – is on a sturdy tripod and you have a cable or remote shutter release available. Switch the shutter to Bulb. Set the lens to Infinity. Select a slow shutter speed and a low ISO. Choose the aperture accordant to the intensity of the lightning. Also, be prepared to review and adjust your settings as you go – the conditions are likely to change throughout the evening and into the night.
5. Be patient

We won’t sugarcoat it for you. Learning how to photograph lightning is not easy. It takes a while, usually a few hours, and some hundred test shots before you capture a single decent lightning pic. But despair not! With a little luck, a lot of patience and the right amount of skill, you can become the successful storm photographer you’ve always wanted to be. All you have to do is never to get discouraged. Or thunderstruck (unless by your own photos).
What about you? Have you already ticked lightning off your photo bucket list or are you still trying to nail your ultimate shot? Let us know in the comments.
ORDER PRINTS AND PHOTO GIFTS ON THE GO WITH EMPIK FOTO APP
![]()
![]()