Your photo garland – an easy and quick tutorial
There is a pretty good chance you have thousands of leftover photos piling up on your phone and computer. So, why not showcase them in a new, creative way? A photo garland is the perfect decoration to dress up your room and display long-forgotten snaps stuck in your digital archives. Here’s an easy tutorial for making your own garland in minutes.
How to create a photo garland
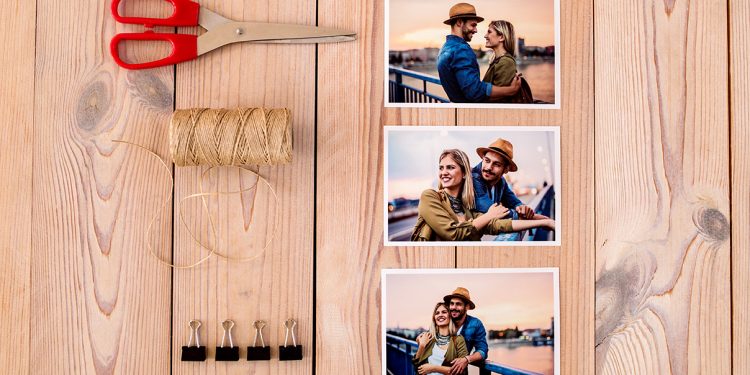
For this DIY project you will need:
- prints, preferably 9×13 or 10×15, or InstaPhotos
- mini binder clips
- a length of nice-looking string
- scissors
Start by printing out all the snaps you want to include. With Empik Foto, you can print your pictures exactly the way you want them. All you have to do is upload your best photos from your device, social media or cloud drive and we’ll take it from there! For this particular project, we recommend using 9×13 prints or 10×15 prints, or square InstaPhotos.
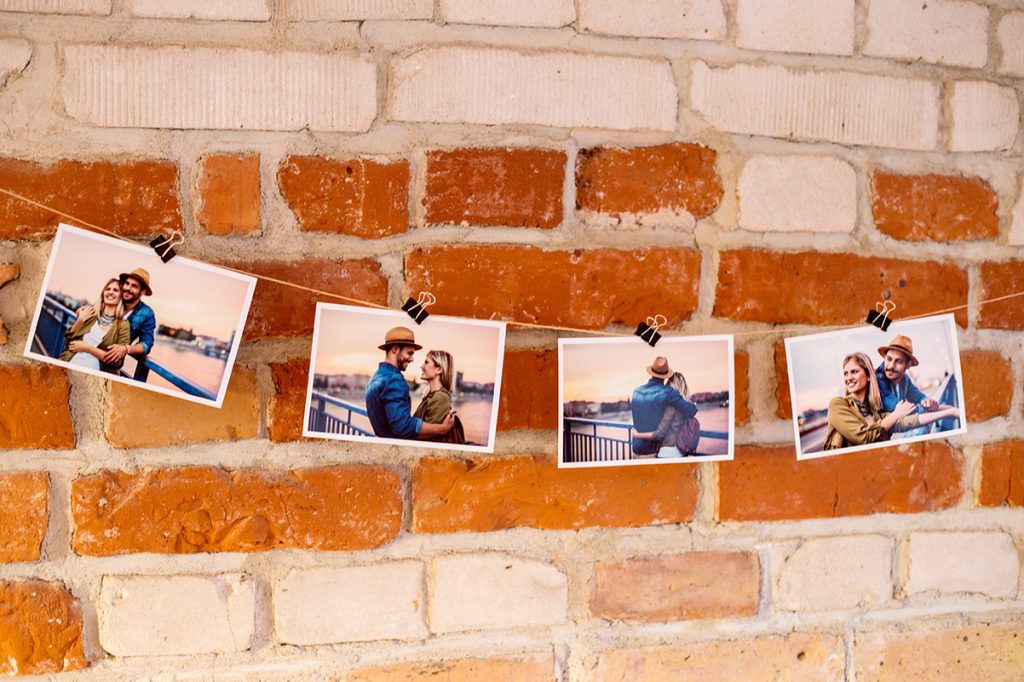
Once your photos are ready, you can arrange them in whatever order you like and then attach them all together with your binder clips. Best if you try to always keep the same distance between the photos. Oh, and don’t forget to leave a little more string at each end! This way, you can hang your photo garland onto the wall when it’s ready. The great thing about using binder clips is that you can switch photos out and reattach them to your clips as you please. Pretty easy, right?
Finally, if you want to crank up the challenge a notch or two, you can always grab some coloured cardstock and cut a whole bunch of little triangles to act as spacers between the photos. You can also add some twinkle lights to the garland for that extra sparkle.
Now you can hang your garland by your bed or above your desk to have your favourite images close by!
ORDER PRINTS AND PHOTO GIFTS ON THE GO WITH EMPIK FOTO APP
![]()
![]()